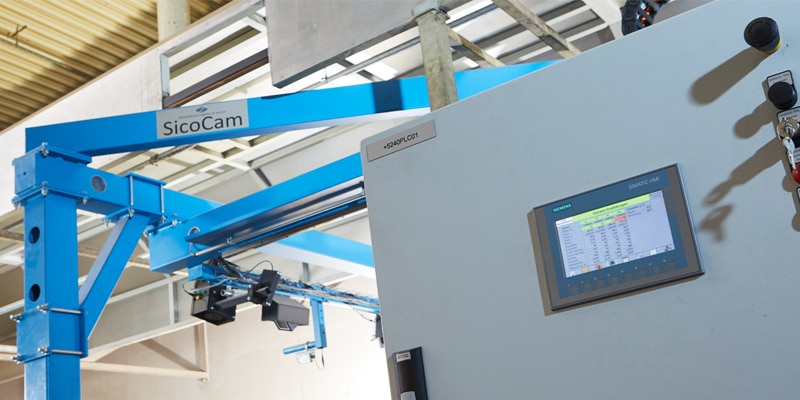
Costly manual measurement of raw chipboard is a thing of the past. The SicoCam inline board measurement system from Siempelkamp Logistics & Service now measures wooden composite boards in a continuous cycle. It includes four programmable InspectorP65x high-performance cameras from SICK and SICK AppSpace. They supply measured values for calculating the board size and adjusting the saws. This increases the quality of the manufactured boards, decreases the amount of rejects, and boosts productivity. In addition, workplace safety improves.

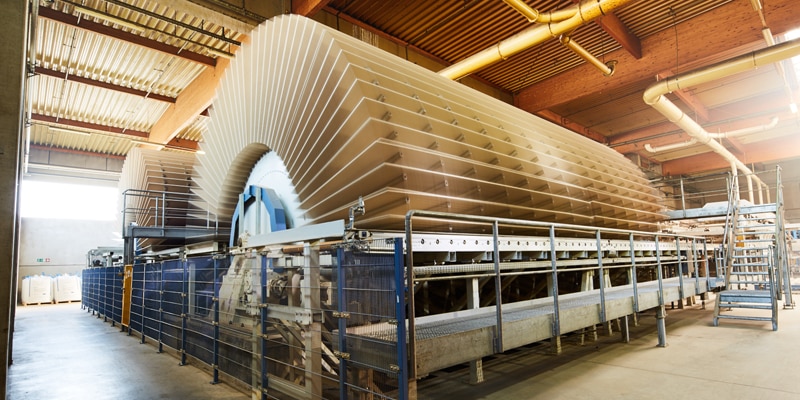
Each year, at the Fritz Egger GmbH & Co. OG chipboard factory in the Austrian town of St.-Pölten-Unterradlberg, around three million cubic meters of wood are turned into 40 million square meters of coated chipboard. That is enough to cover half the earth’s circumference when lined up end-to-end. The company’s chipboard is supplied to industrial businesses and specialist stores. Egger’s list of clients contains every well-known Austrian furniture manufacturer. Raw boards are produced by pressing the strands of board and then making the necessary cuts with multi-diagonal saws. Typically, these steps are followed by a measurement of individual boards in order to correct any possible dimensional deviations. Up to now, this was a task that had to be performed manually by removing “acceptable boards” from the production line or by measuring boards in the plant, e.g., in the star cooler.
Safety solution needed, greater automation gained
For a long time, both Siempelkamp (a plant engineer and equipment installer) and Egger wanted to find a technical solution that would eliminate the serious safety drawbacks inherent in the existing approach. “The existing technical solution for measuring the boards after the multi-diagonal saw was not consistent with the latest technology,” says Dr. Frank Otto, Project Manager at Siempelkamp Logistics & Service GmbH, in regard to the initial situation faced by the two companies. “To make matters worse, the multi-diagonal saw in our high-performance systems has been doing more of its cutting in tandem, triple, or quadruple mode, in other words with two or more saw units. Combined with the manual correction of cutting parameters where dimensional deviations are found, the manual board measurement process has proven too complex and too long for our customers, not to mention the safety shortcomings involved.”
Previously, separated boards were checked by hand using a tape measure and moved to the reject pile. If deviations were found in the measured values, the operator on the saw had to enter and confirm the necessary correction parameters. By this time, a number of boards with incorrect dimensions would have already made their way into the plant. No sooner had the saw been adjusted than the operator would have had to manually remove another board and measure it to determine whether or not the desired results had been achieved. If the board failed to meet the specifications, the operator had to adjust the saw yet again. This process could take anywhere from fifteen minutes to a half hour.
“Now that the board-measuring system is located within the machinery, the saw can be corrected immediately after any dimensional deviations are found,” notes Martin Hinterhofer, Technology Manager at Fritz Egger GmbH & Co. OG. “With the new system, we can also respond quickly to process changes in order to stabilize our processes and ensure consistent quality of the finished product.”
Measuring the board geometry
In chipboard manufacturing, the forming and press line constitutes the most process-critical system unit within the entire plant. As the centerpiece of the plant, it plays a major role in determining the plant’s capacity and the quality of the products. For this reason, the output of the machines located downstream should be coordinated with the line, which will help avoid bottlenecks. For example, a system for measuring the board geometry should ideally be positioned inline and after the saw if possible. The SicoCam inline board-measuring system from Siempelkamp measures the board length and width, and also calculates the diagonals and the angles in the four board corners. This allows trimming and cross-cutting to be optimized and helps minimize waste.

Siempelkamp adds (another) cherry on top
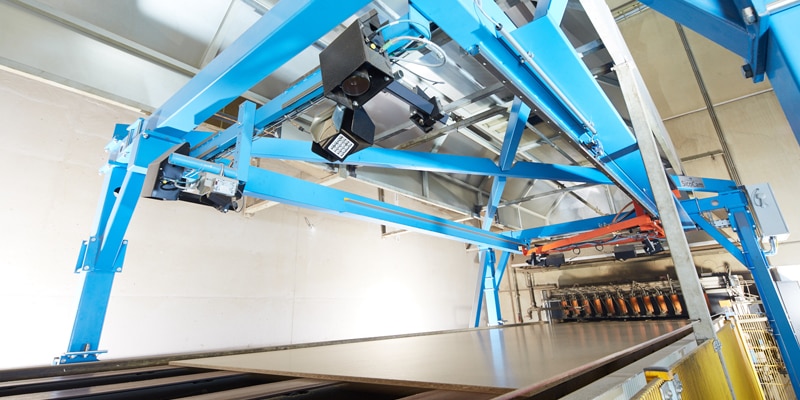
After being cut to length from an endless strand, the individual boards are measured on a conveyor track as they pass through the system. Above this track, four programmable Inspector65x 2D cameras are mounted on a gantry, with the cameras mounted on a movable sled positioned in the rear of the passage in the direction of transport. With the aid of the sled, the camera system is adjusted to the different board lengths. The setting accuracy is on the 0.01 millimeter scale. A W12-2 Laser small photoelectric sensor provides front-side detection and activates the capture function (triggers the cameras). “We have a conveyor belt or roller conveyor; the SicoCam gantry is positioned above it and the board is measured just as it comes,” notes Dr. Frank Otto in describing the design. “There is no mechanical connection to the existing plant. It’s completely decoupled, and we don’t need to make any modifications to the existing machinery, including functional modifications or decelerating of the boards.” “This can all be done during normal operation with only a brief stoppage, since we just have to position the system above the conveyor,” says Mathias Köhl, Production Manager Raw Chipboard at Fritz Egger GmbH & Co. OG.
SICK AppSpace: freedom to develop customized applications
In optoelectronics, specifically in the area of image processing, configurable products are often pushed to the limits of their capabilities where the implementation of certain functions or performance characteristics are critical. With the SICK AppSpace eco-system, SICK offers system integrators and original equipment manufacturers new freedom to develop customized applications and user interfaces based on programmable cameras and optical sensors. Measuring board geometries requires height compensation at board transport speeds of up to four meters per second. “The board is tensioned when it leaves the press and sometimes bulges downwards or upwards a little. That has to be taken into account. The only way we can compensate for this is by positioning lasers at each board corner and programming the app accordingly,” says Markus Gropp, Branch Office Head at Siempelkamp Logistics & Service GmbH, in describing the challenges faced in this process.

“The entire system doesn’t just include four cameras that simply detect an edge. Anybody could do that,” adds Dr. Frank Otto from Siempelkamp. “There’s a lot more know-how involved.” “The heart of the system is its software. Despite this, the hardware still needs to meet certain prerequisites. Not every camera is capable of the performance, sensitivity, and rapid shutter speed necessary for this task. We now have the ability to measure boards traveling at speeds of up to four meters per second. When it comes to exposure time, we need to be working in the microsecond range. And that’s where the camera performs very well, along with all of the shutter technology, so that we get extremely sharp images despite the high speed,” notes Dr. Frank Otto, Siempelkamp, enthusiastically.


